![NextPatient_Logo_RGB_Charcoal (2).png]](https://help.nextpatient.co/hs-fs/hubfs/Logos/NextPatient%20Logos/NextPatient_Logo_RGB_Charcoal%20(2).png?height=31&name=NextPatient_Logo_RGB_Charcoal%20(2).png)
Overview
Message patients securely directly from NextPatient — with read receipts, team-based inboxes, and ensuring sensitive information stays protected. This article walks through logging in, setting up your texting defaults, sending a secure message, saving conversations to your EHR, and managing teams.
1. Log in to NextPatient
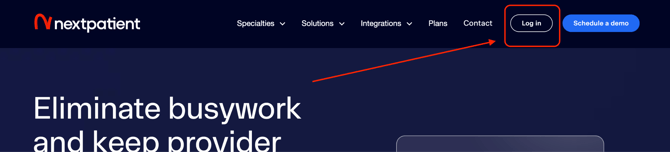
Go to nextpatient.co and click Log in.
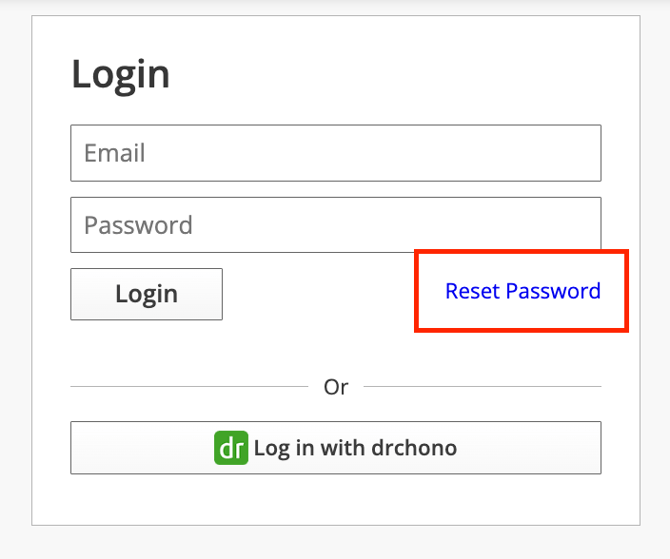
If you need to set up your password (or reset it), click Reset password and enter your email address.
 |
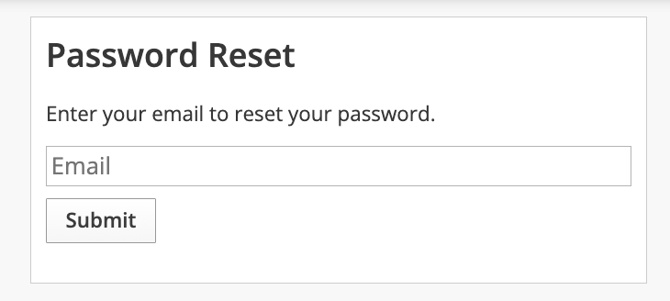 |
Shortly, you’ll receive an email with a link to set up your password for the first time.
2. Open text messaging
Once logged in, you'll see your practice's locations listed on the admin screen. Each location has its own SMS number, so a patient's reply always lands in that location's inbox — choose the location you want to view first.
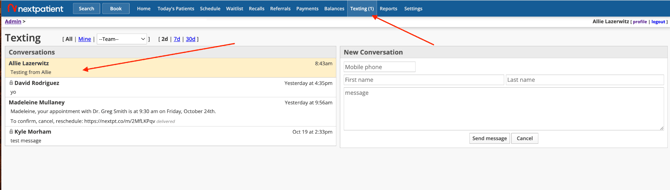
Then, in the top blue menu bar, click Texting.
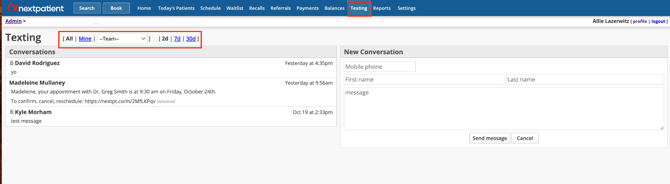
From there you can:
- Toggle between viewing 2, 7, or 30 days of conversations
- View everyone's conversations at that location, or just the ones you started
- Switch to a different team's messages using the team dropdown
New messages trigger a notification next to Texting in the top menu bar and appear highlighted in yellow in the Conversations inbox.
3. Set your default "reply-to" team
Before sending messages, set your default team in your NextPatient profile.
Click Profile next to your name in the upper right corner and choose your default team from the Reply-to team dropdown. Any outgoing messages you send will be linked to that team's inbox — so if a patient replies, the alert shows up in the Mine tab in your inbox for everyone on your team.

4. Send a patient a secure message
Step 1: Find the patient. You can either:
- Find them listed under Today's Patients, or
- Use the Search function in the upper left of the top menu bar
Step 2: Open secure messaging from the patient's record.

Once a patient reads your message, the read receipt appears when you open their conversation from their visit or patient page.

Reassigning a conversation: After sending a message, you can change who it's assigned to. To assign to the whole team instead of just yourself, click Edit next to the team name and select a team — any patient replies will then flow into that team's inbox.

Tip: Look for the lock icon in the inbox — it marks which conversations are secure.
5. Save a conversation to your EHR (only available for ModMed, Athena, Nextech, and PracticePlus)
If you need to save a conversation into your practice management system (Nextech, ModMed, athenahealth, etc.), click Save inside the secure texting conversation.

You'll be prompted to choose which messages to save — check the boxes for the messages you want, click Save, and then close the window.

6. What the patient sees
Unsecure messages send as a normal SMS.
Secure messages instead send the patient a link:

To view the message, the patient clicks the link and enters their date of birth to verify their identity. Your message will then open in their browser.
 |
 |
From there, the patient can reply using the text box, or click the photo icon in the bottom right to take or upload a photo and send it.

When the patient responds, the new message shows up in your Conversations inbox.

7. Create or edit a team
Users with Manager or Admin permissions can edit teams.
Go to Settings → Teams.

To change a team's members, click Edit and select or deselect users.
Note: If a user doesn't appear in the list of people you can add to a team, they likely don't have a NextPatient user account set up yet. Only Admins can create new users under Settings → Permissions.